Trio-60HHKB Build Guide

在我们开始前,你得知道这些:
Before we start, we need to pay attention to these things:
1.请使用附赠的螺丝刀,以免刮坏外壳
2.请不要使用乙醇擦拭涂层版本的外壳,这可能导致涂层的溶解或损坏
3.请避免用手直接接触PCB上的电子元器件,以免静电损坏pcb
4.Gakse贴纸不能反复粘贴,请再粘贴时仔细对准位置
1. Please use the included screwdriver to avoid scratching the case
2. Please do not use ethanol to wipe the the coated case, which may cause the dissolution or damage of the coating
3. Please avoid touching the electronic components on the PCB directly with your hands to prevent static electricity from damaging the PCB
4. Gakse stickers cannot be pasted repeatedly, please carefully align the position when pasting

卸下随附的两颗螺钉。
请使用包装中随附的螺丝刀,以免划伤外壳。
Remove the two screws that come with it.
Please use the screwdriver included in the package to avoid scratching the case.

将 USB 子板安装在孔中并用附带的螺钉固定。
插入电缆并将电缆插入卡槽。
Stick 12 2mm poron stickers on the corresponding positions as shown in the picture.
Install the usb daughter board and fix it with the attached screws. Plug in the cable and put the cable into the slot.
请检查是否有螺丝遗漏,如果一切正常那么。
将随附的poron垫片放在下盖底部,请对齐孔位。
Please check if any screws are missing, if everything is normal then.
Place the included poron gasket on the bottom of the lower cover, and align the holes.

在这些位置贴上poron贴纸,完成后,您的键盘看起来应该是这样的。
Put poron stickers on these positions and when you are done, your keyboard should look like this.

剪掉pcb poron的接缝,注意不要伤到自己,剪掉的部分请不要丢弃!
我们需要将其安装在空格键附近。
Cut off the seam of the pcb poron, be careful not to hurt yourself, please don’t discard the cut part!We need to install it near the space bar.

接下来安装您的卫星轴,请注意孔位。
Next install your stabilizers, please pay attention to the hole position.

这一步需要在定位板上贴poron贴纸。 总共 24 个贴纸。
然后就可以将润滑的轴体插入定位板板中。
In this step, you need to put poron stickers on the prominent position of the plate. A total of 24 stickers.And then you can insert your lubricated switchers into the plate.

检查你需要的配列,将轴体与PCB焊接在一起就可以完成了。
Check the layout you need, solder the switches and PCB together to complete.

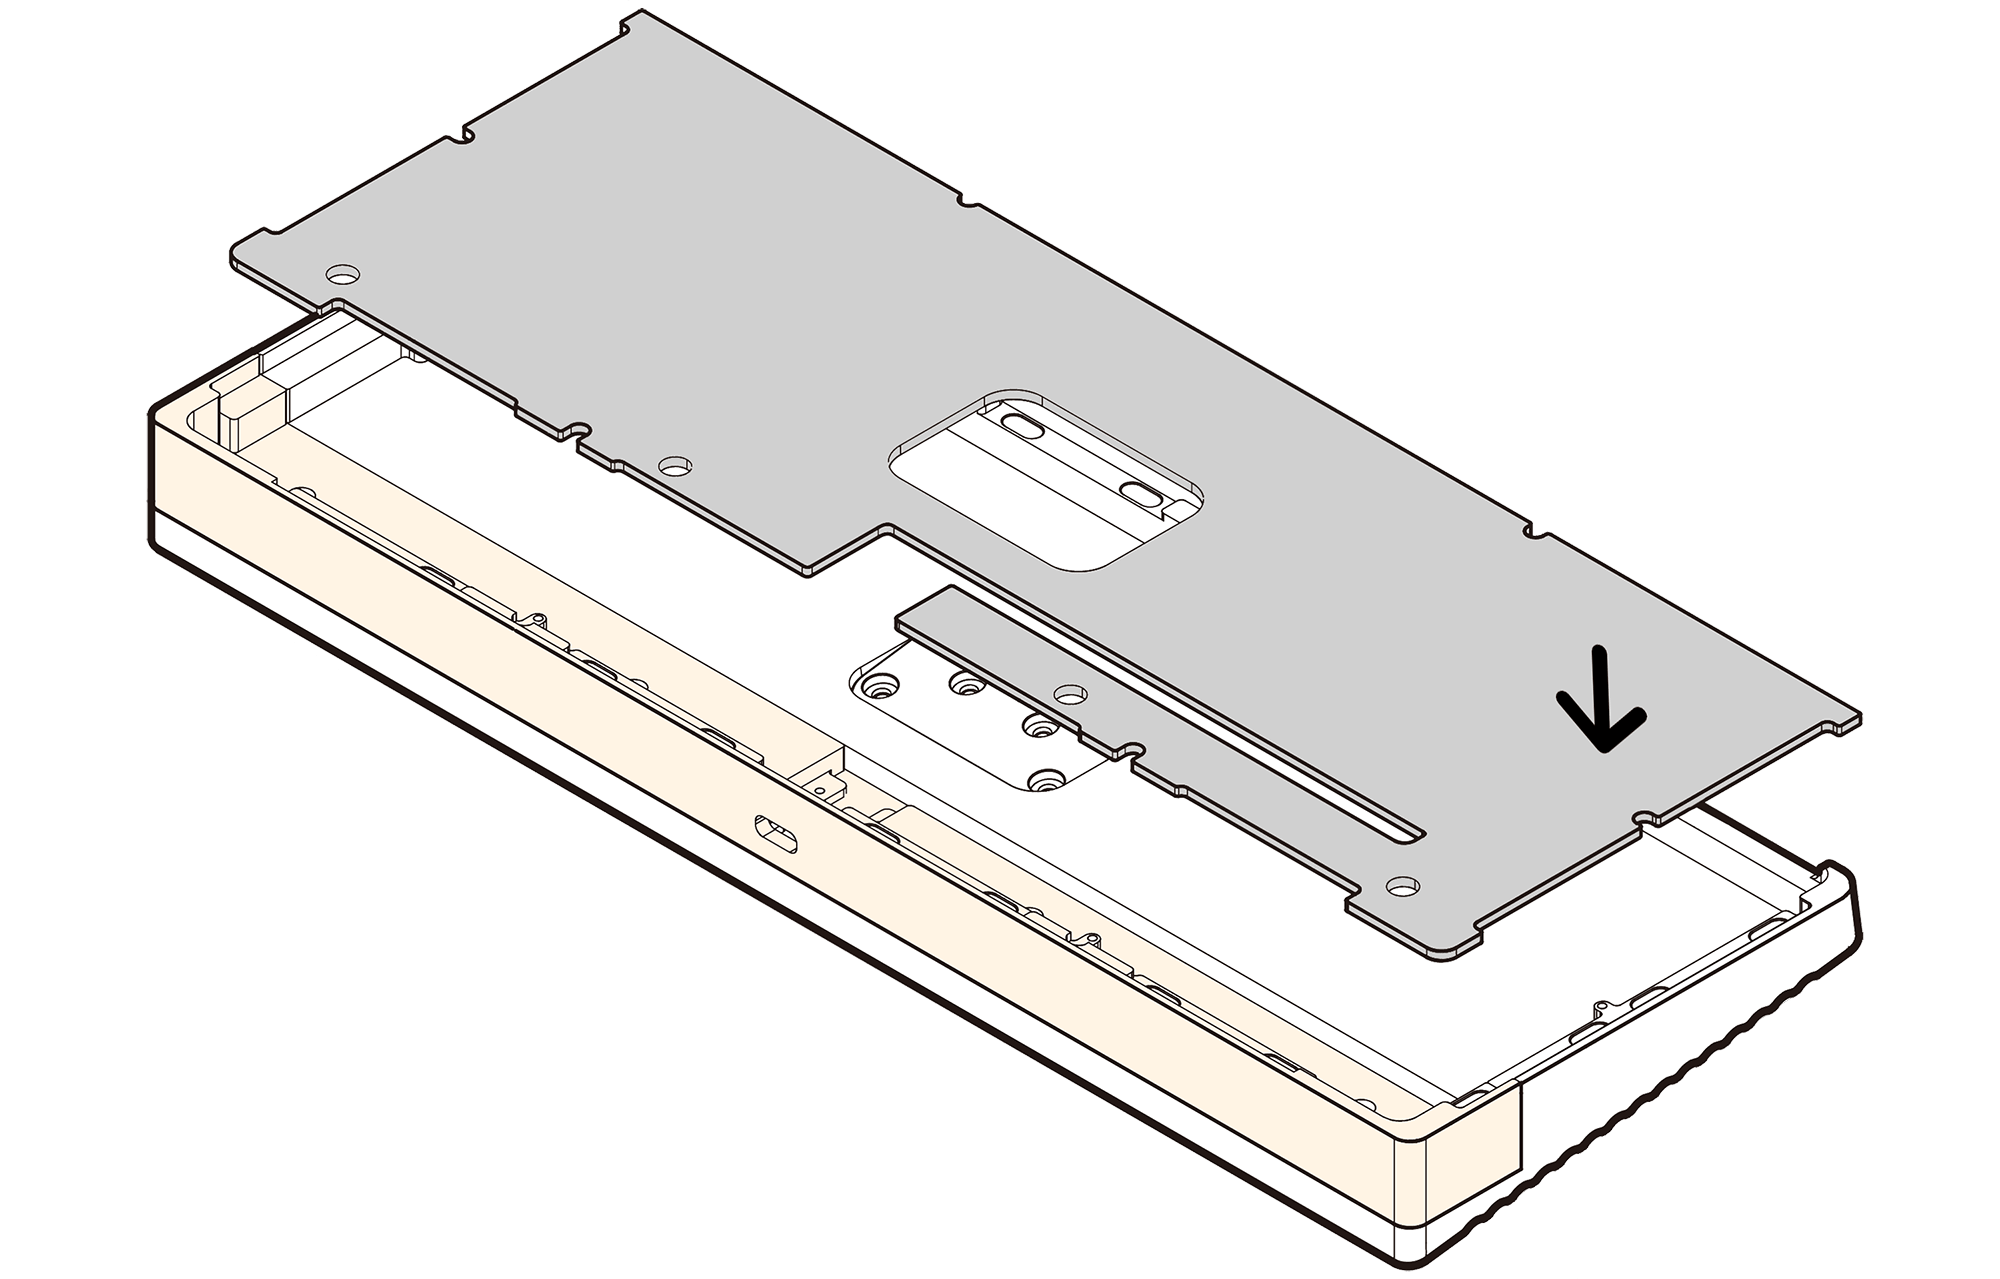
在箭头指示处拧上螺丝,将上盖固定
Tighten the screws at the place indicated by the arrow to fix the upper cover